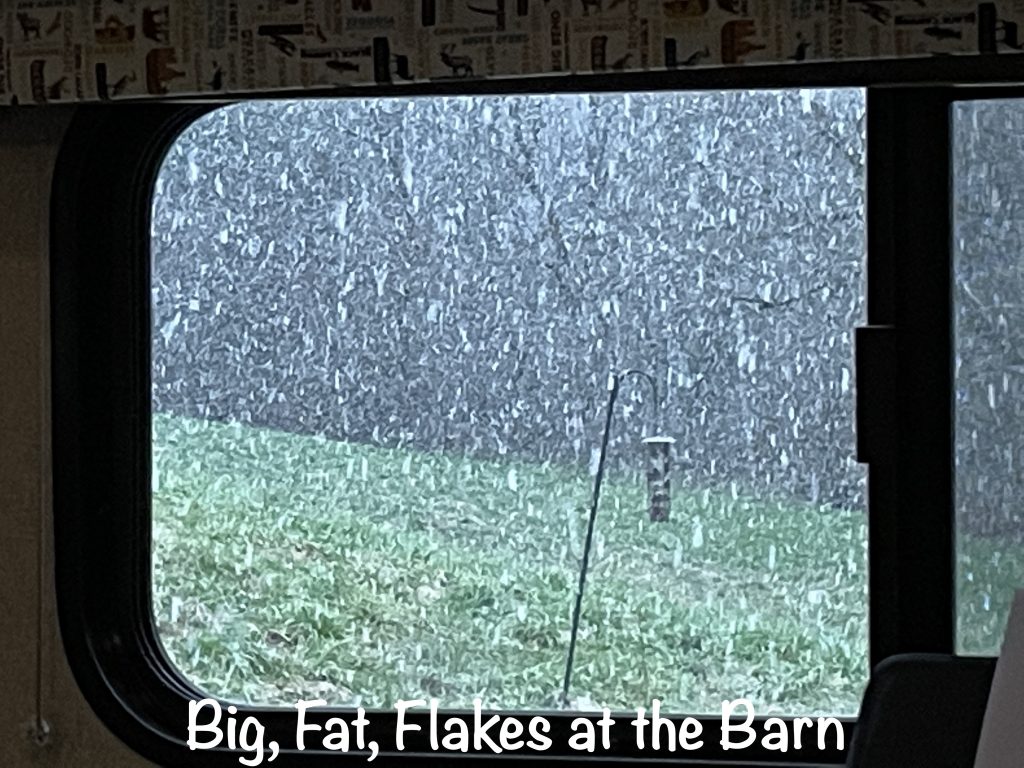
After a little more than 6 months on the road, we enjoyed being back at the barn for a bit. It gave us a chance to catch up with friends and family and check a few things off of our “To Do” list. The latter never seems to get completely done, but we chip away at it as much as we can. As I write this, we are back on the road, and I’m behind in posting.

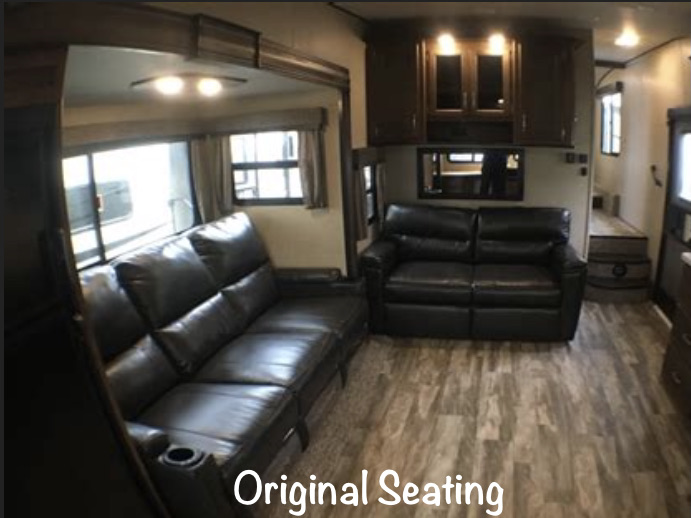
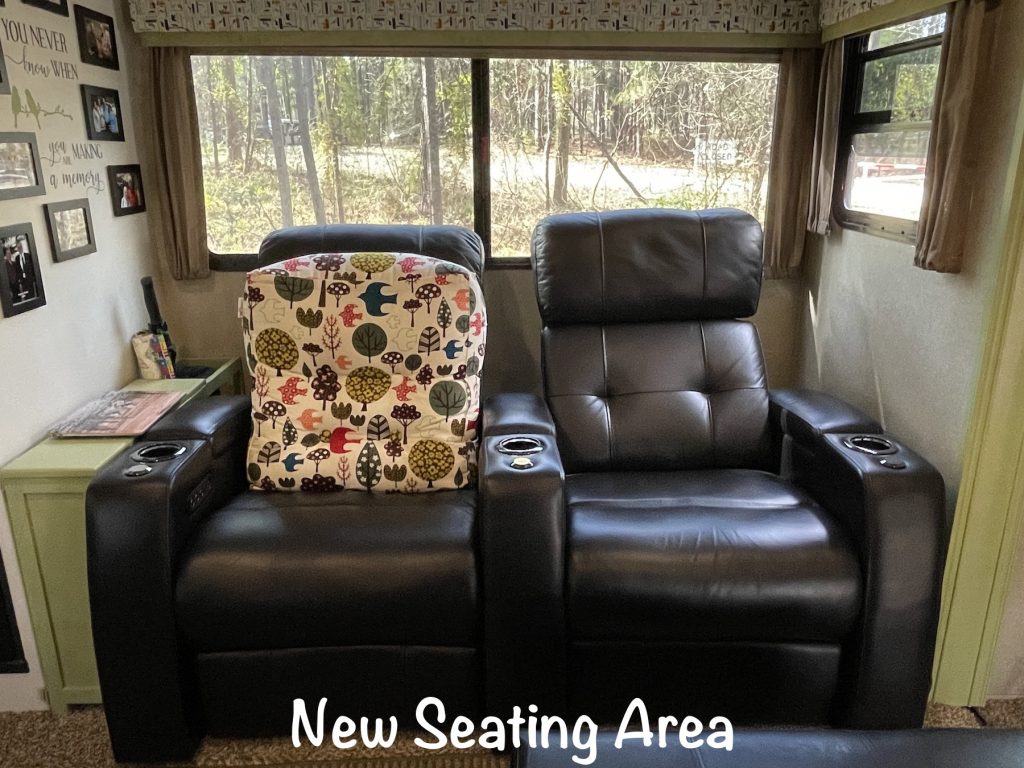
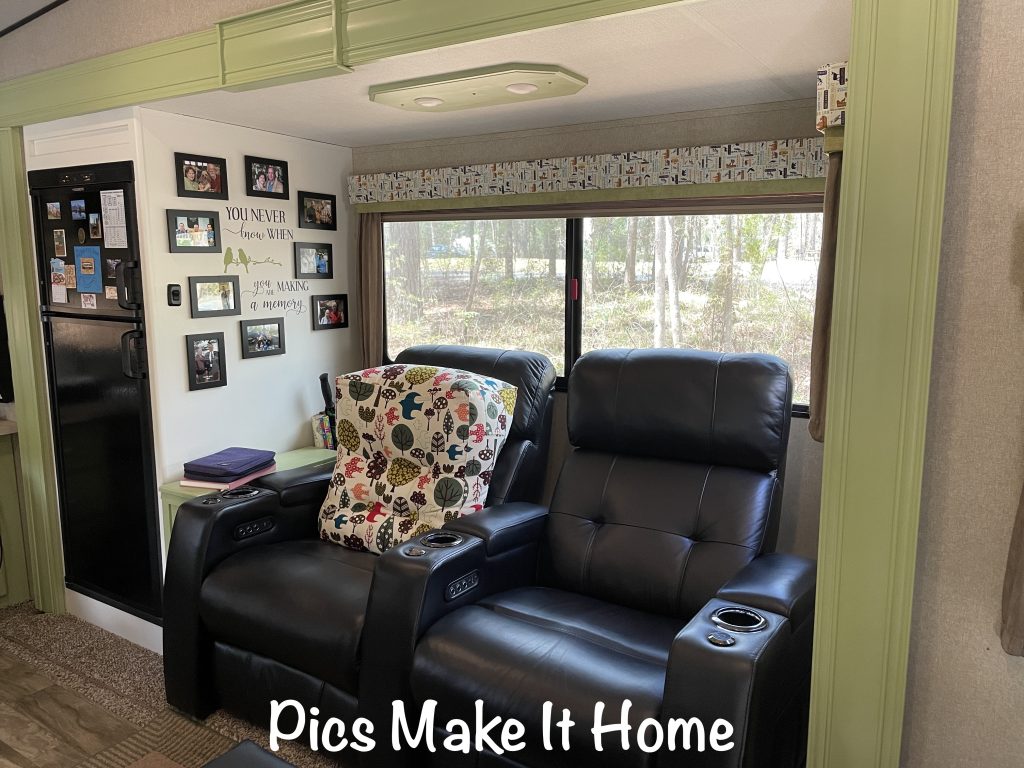
I LOVE Petunia. At 31′, she’s the perfect size for us…large enough not to feel cramped, and small enough to go most anywhere. BUT…after more than 2-1/2 years of living in her full time, there were some things that needed to be addressed. First, our theater seating had begun to peel, and one of the recliner pulls was broken. The latter would have been less imperative if it was Mr. Wonderful’s (MW’s), but it was MINE! LOL I’ve seen complaints online from folks who have had their rigs for 6 months, only using them for a few weekend trips, and were already dealing with the peeling. I guess that makes us lucky it lasted as long as it did with every day use. It took us quite a while to find a unit that we felt would hold up and fit the weight requirements. We ended up purchasing new, top-grain leather theater seats from 4Seating.com. The new, two-seat unit doesn’t quite fill the same space as the other one, but Mr. Wonderful solved this by building a storage table to fill the gap. We’ve had them for a couple of months now, and they seem to be very durable. However, I don’t think I will buy furniture again without being able to try it first. The seat backs do not sit upright enough for me, which I solved by ordering a triangle-shaped pillow to make it more upright. I REALLY miss my heated seat, though! I never used the massage feature, which was basically just a vibrating chair, but that heat was awesome on a cold, winter morning! We gained arm storage, tables, and a utility light, though, so that’s something.
Next was a set of jobs that were a LOT of work for MW. If you’ve read along the way, you know that we lost our spare tire somewhere in Montana on the last cross-country. The cable that held it in place simply snapped, breaking the winch, too. In order to fix that, the coroplast had to come off, which gave him an opportunity to work on a siphoning issue we’d been having with the fresh water tank and add a little bit of extra insulation. Fixing the spare wasn’t complicated, and to ensure it doesn’t happen again, he added a chain with a padlock.
There was no joy on the siphoning issue, though. It is perplexing, to say the least. When we fill our fresh water tank, we let it go until water starts coming out of the overflow pipe, just like we did on our other trailer. Sometimes, once you turn off the water, the overflow stops draining and everything is copacetic. BUT more times than not, the water coming out of the overflow DOESN’T stop until the tank is drained dry. Okay, okay, I understand the physics of this situation, and several people have said “that can’t happen”, but I’m telling you, it has happened multiple times. DRAINED DRY! The only thing we can come up with is that, instead of stopping just inside the top of our tank, the overflow hose must go all the way to the bottom. That’s the only thing we can come up with that would siphon off the entire tank. If it was higher than the bottom, the siphon would break. It’s been an ongoing issue, so we’ve come up with a work-around. MW put a shut-off valve on the overflow pipe. After filling the tank, he closes the overflow pipe. Then we use the water for a little bit in the RV. He goes out periodically to see if the flow has stopped. Strangely, it takes a LOT longer than you would think for that to happen. In any case, he was hoping to be able to pull the overflow pipe out of the tank and make sure it was just fitted into the top edge. There was just so much stuff…ducting, wiring, insulation, etc.. all around it, though, that he couldn’t really get to it in the time allotted. Ugh!
The final thing he worked on was insulating some of the water lines underneath. Unfortunately it was impossible to get to the one that runs to the kitchen sink. Why in the world they would run a line between the bumper and the back wall is beyond me. That is the only one we ever have to worry about freezing, and he was hoping to get some insulation between it and the outer wall. Oh well, we will have to continue to be careful when it gets into the mid-20s.
Before closing her back up, he decided to separate the coroplast into three parts. The axles make it next to impossible to remove it in one sheet, and if you did get it off, getting it back on would be twice as tough. He left the section above the axles intact, and cut a front and rear section. When it came time to put it all back together, he attached the pieces around the edges and taped across the bottom with FlexTape. Let me just say, that stuff is amazing!
While scooting around the underside, he noticed that the drain pipe that comes out of the grey and black tanks was no longer strapped up to the underside and was kind of free-floating in the space. He re-strapped all of that so we won’t end up dropping it off in the road somewhere, too. He spent a tough few days scooting around on his back under there, and was happy to close her back up. I, however, didn’t spend any time scooting around under there, so there are no pics of the process.
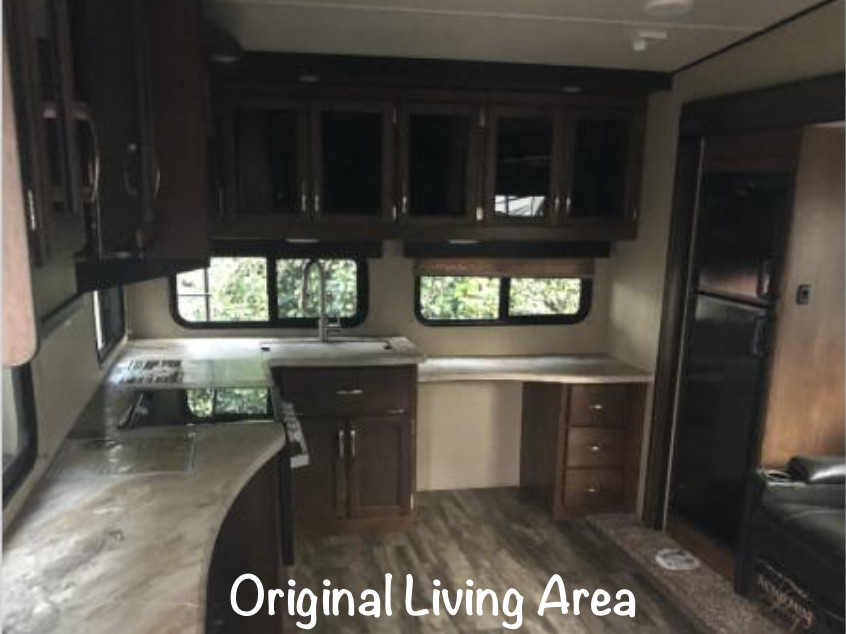
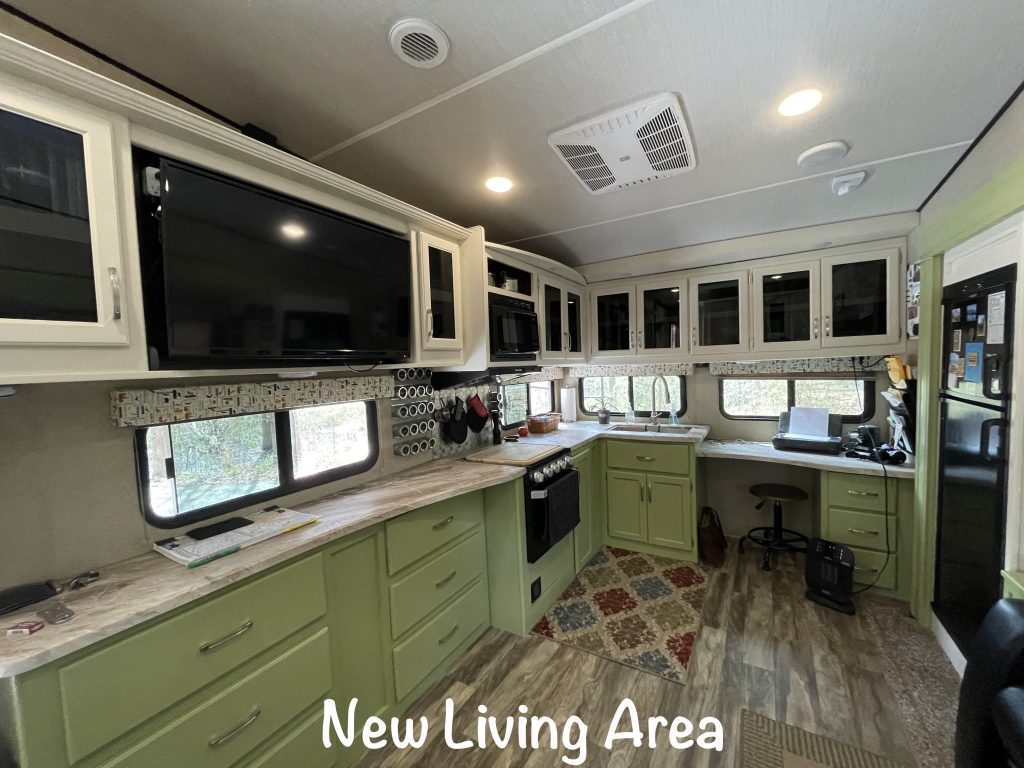
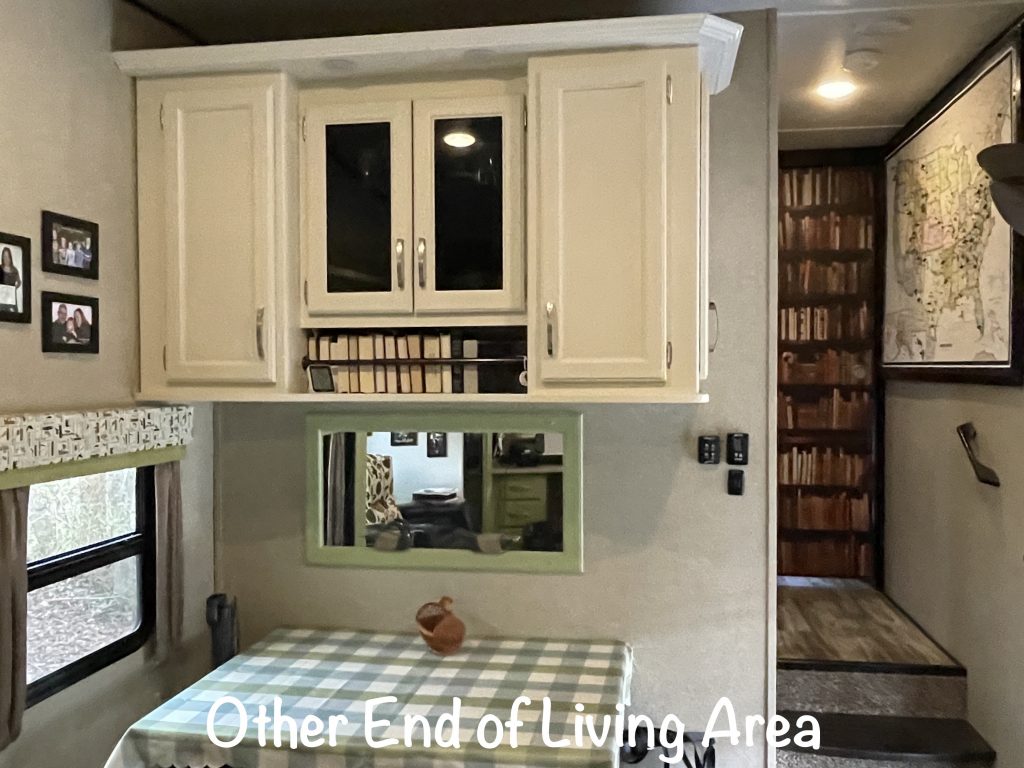
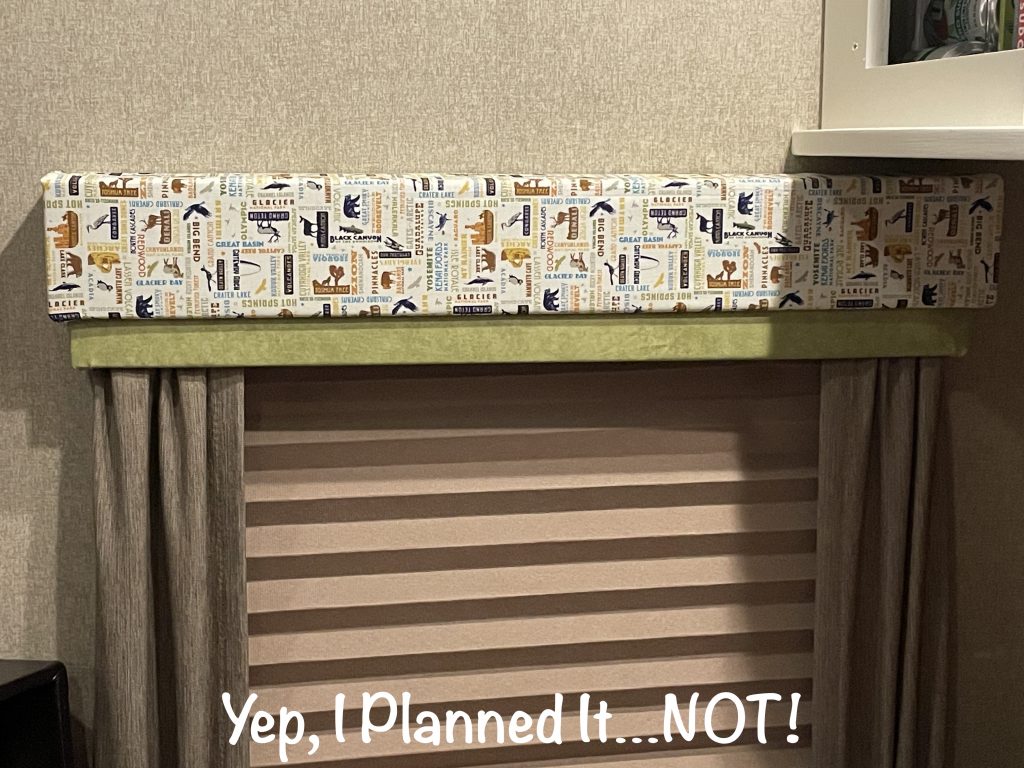
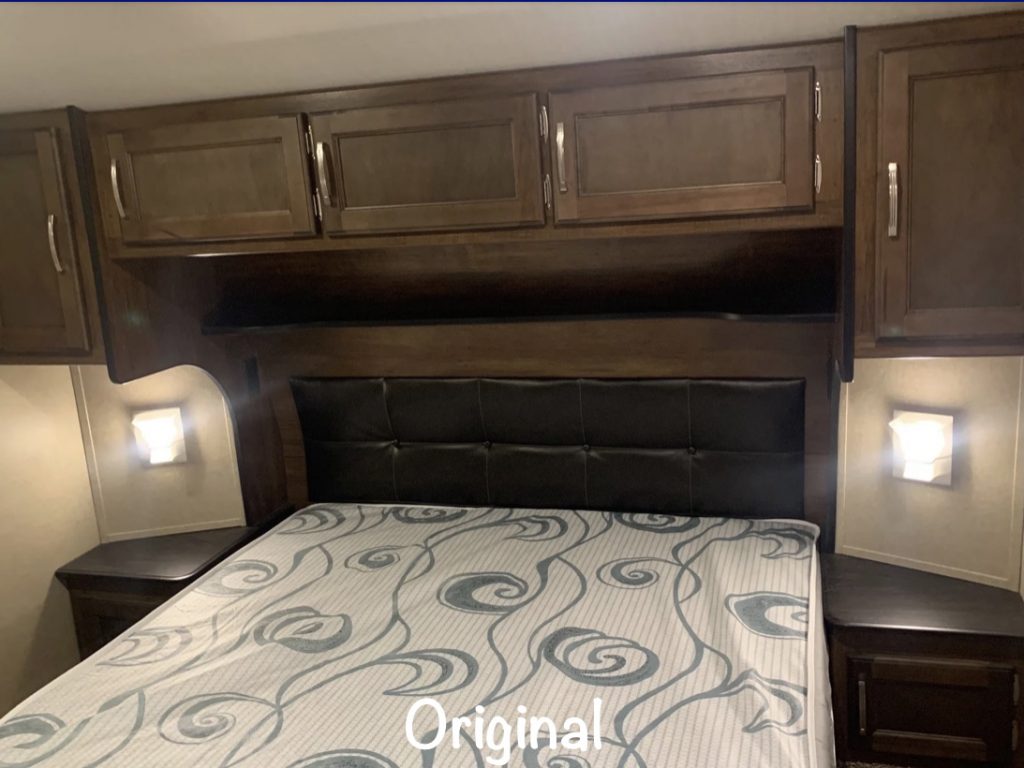

I don’t think MW was convinced that paint would really make a big difference, but he became a believer as soon as I finished the first cabinet. Now we both love it, and I don’t feel like I’m in a cave on rainy/winter days.
That’s it for now. See you on the path!
Talisa
P.S. Use the buttons at the top right or bottom to be notified of new posts, and please SHARE, SHARE, SHARE on social media!